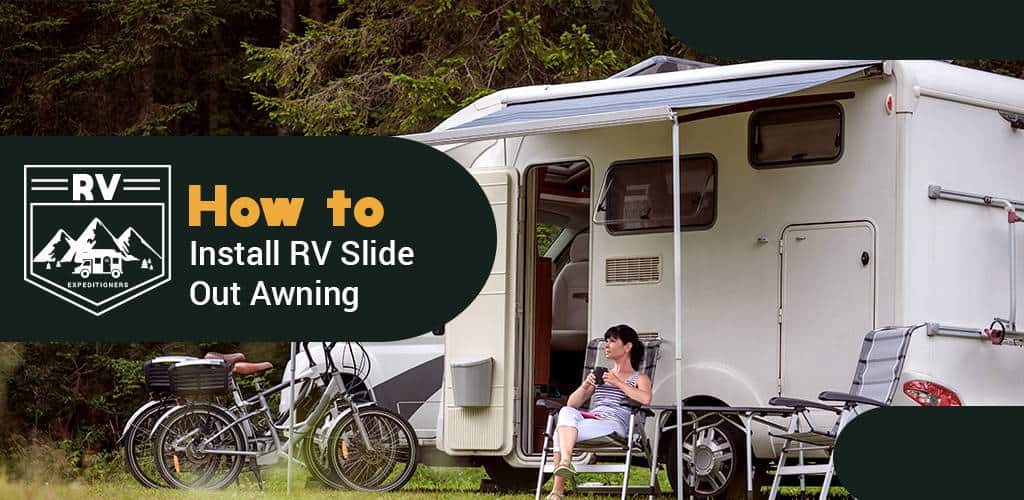
Imagine having all of the benefits of a slide out for your RV without having to worry about the potential water damage every time you use it in the rain or snow. Attaching a slide out awning helps keep the water from pooling and potentially causing damage. Awnings also provide protection from the heat by blocking the sun and keeping your RV cooler as well as protecting your roof against sun damage.
You can install this extra feature yourself with the right tools, a bit of patience, and the right wrench monkey attitude. We will walk you through what you need to get and what you need to properly install an awning and add a new dimension to your RV experience.
Let's start with the tools you will need:
The awning rail.
The roller assembly with awning fabric.
- Tall and short mounting brackets (two of each).
- Striker plate.
- Pin tab.
- Twelve Tek screws.
- Two pan-head drive screws for attaching the striker attachment.
- Two pan-head drive screws for attaching the roller tube.
- Four pan-head drive screws for attaching the extension.
- Two flat-head screws for attaching the pin tab attachment.
- Two HWH screws.
Step-by-Step Guide
Each main step is broken down into individual steps below.
Mount the Brackets
Step 1
Make sure that the surface you will be mounting the awnings on has enough framing or is thick enough to give the brackets and screws something to hold onto. The awning will rip through it if it lacks the appropriate structural integrity. Aluminum or fiberglass skins are a no-go unless you fabricate a mounting frame underneath them.
Step 2
Align the mounting brackets with the inside edges of the top and side room flanges.
Step 3
Coat the mounting surface with silicone sealant. Pay extra attention to the edges of the mounting holes. This will prevent water from leaking into the RV from the drilled holes.
A Note on Silicone Sealant
Make sure that the surface is spotless and dry before applying silicone sealant. Silicone dries within 30-60 minutes after application and may be sped along with a hairdryer, but curing takes about 24 hours.
Step 4
Load Tek screws into your drill and mount the brackets onto the RV’s exterior with them.
Install the Awning Rail
Step 1
Measure the rail, find its center point and mark this point using a marker.
Step 2
Spread silicone sealant all over the back of the awning rail to prevent water from seeping into it once mounted (see note about silicone above).
Mount the Roller Tube
Step 1
Use a flat-head screwdriver to slightly open up one end of the awning rail. This makes it easier to slide the awnings into them.
Step 2
Clean the end of the rail and spray the insides with silicone lubricant before installing the awning.
Step 3
Insert the end-caps on either side of the mounting bracket.
Step 4
Unroll some of the awning fabric from the roller tube and slide it into the awning rail. Make sure to center the fabric.
Step 5
Roll up the extra fabric back into the roller tube to get rid of the slack.
Step 6
Insert the end-cap into the right side of the roller tube. Position the flats so that they are aligned with the flats of the end cap. Also, twist the tube so that the spring locking pin faces out.
Step 7
Use one pan-head screw to affix the end-cap of the roller tube.
Step 8
Repeat steps 6 and 7 with the other end.
Step 9
Position the roller tube and fabric so it is centered over the slide out.
Step 10
Secure the end-cap arms onto the mounting brackets using two screws for each of the two ends, starting from the bottom.
Step 11
Take out the spring locking pin from the roller tube assembly. Open and close the room a couple of times to ensure that the fabric is rolling straight into the roller tube.
Step 12
Use the two screws left to secure the fabric roller attachment to the awning rail.
Slide Outs
Here is some food for thought on slide outs.
Pros
- You will have all that extra space.
- They are easy to extend and pull back.
- You can invite more guests.
Cons
- They require additional maintenance.
- They are too big for most trailer parks.
- They raise insurance premiums.
Conclusion
Slide outs are excellent on their own and provide a wealth of space, but why not go further and protect your investment? Imagine your smartphone without a protective covering for the screen. That covering takes a little bit of cleaning and time to install, but the benefits far outweigh the costs.
Awnings safeguard your slide out and lead to more enjoyable trips where you can worry less about all the maintenance you will have to do when you get home. You can enjoy the benefits of slide outs and focus on what is more important, enjoying the trip with your friends and family.