If you've ever wondered why your RV's air conditioner doesn't seem to cool like it used to, you're not alone.
Maybe it's blowing less air.
Maybe it smells a little funky.
Or maybe it's just louder than usual. These are all signs it's time for a little TLC.
Yes, cleaning your RV air conditioner might not sound glamorous, but trust me—it's absolutely worth your time. It's easier than you think, and the difference it makes is huge.
Not only will it help your AC run more efficiently, but it could even extend the life of the unit.
So grab a screwdriver, a soft brush, and maybe a cold drink - because by the time you're done reading this guide, you'll feel like an RV maintenance pro.

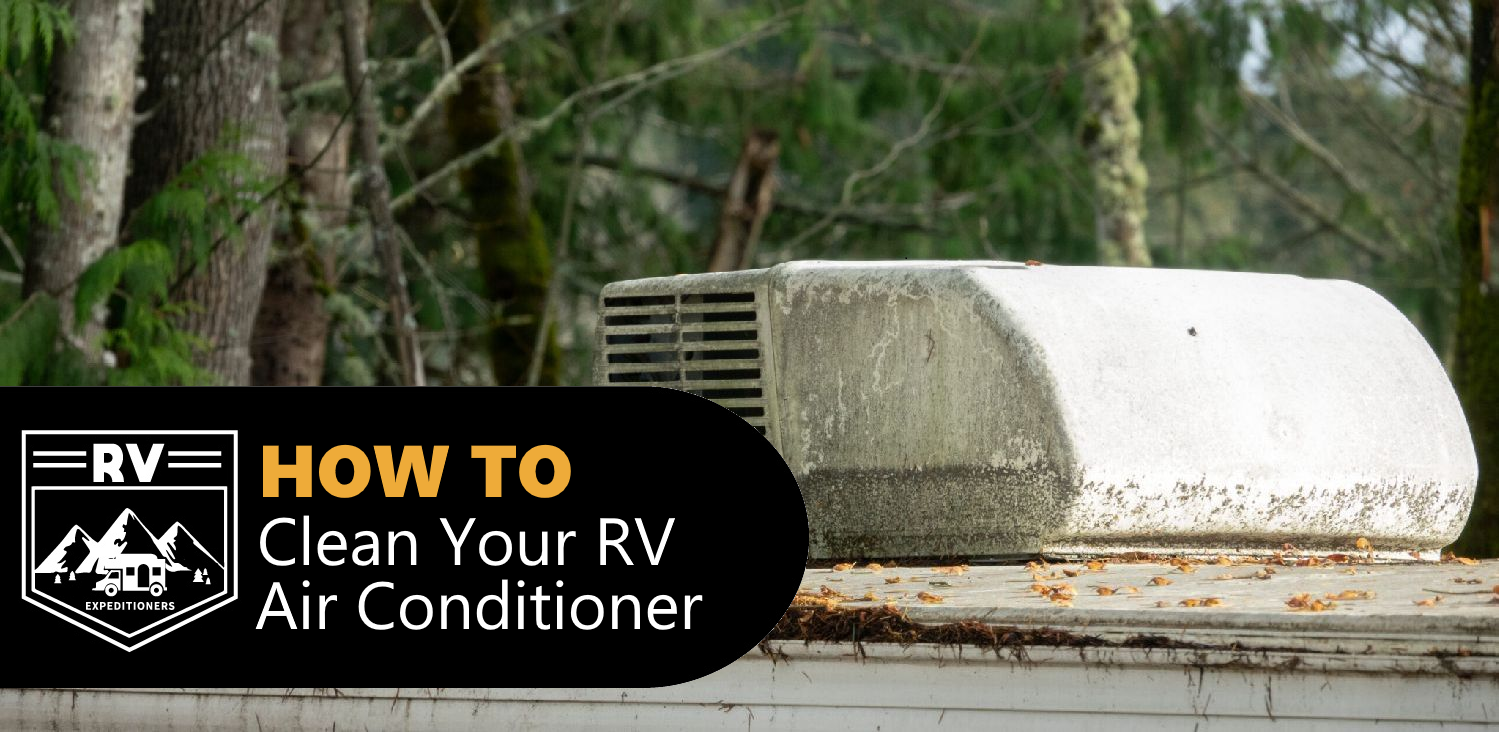
RV AIR CONDITIONER CLEANING
Why Cleaning Your RV Air Conditioner Matters
You might be tempted to skip this part, but stick with me for a second. Cleaning your RV AC isn't just about airflow - it's about health, comfort, and saving money.
- Improves Cooling Efficiency: When dirt, dust, and debris build up inside your air conditioner, it makes it harder for the system to cool your RV properly. Cleaning it helps restore optimal airflow and performance.
- Reduces Odors: A dirty AC can start to smell due to trapped moisture, mold, or mildew. Regular cleaning keeps your RV smelling fresh and improves your overall comfort during travel and camping.
- Extends the Life of Your AC: Just like any appliance, your air conditioner will last longer if you take care of it. Removing debris reduces strain on the motor and other components, preventing early breakdowns.
- Protects Your Health: Air conditioners can harbor dust, mold, and allergens. Cleaning them helps improve the air quality inside your RV, which is especially important if you or anyone else has allergies or asthma.
If you've been sneezing every time the air kicks on, now you know why.
RV AIR CONDITIONER CLEANING
How Often Should You Clean Your RV Air Conditioner?
The answer depends a little on how often you use your RV. But here's a good general rule:
- Every 3-6 months for light use: If you only use your RV occasionally, like for weekend trips or short getaways, cleaning your AC two to four times a year is usually enough to keep it running smoothly.
- Every 1-2 months for heavy use: If you're a full-time RVer or take long trips frequently, your AC will accumulate dirt and debris faster. Cleaning it monthly or bi-monthly helps maintain top performance.
Also, any time you notice poor performance or strange smells, it's a good time to clean.

RV AIR CONDITIONER CLEANING
What You Need Before You Get Started
No need for fancy tools to clean your RV air conditioner.
Most of what you'll need is probably already in your RV or garage:
- Screwdriver: A standard Phillips head screwdriver is typically all you need to remove both the inside and outside covers on most RV air conditioner models.
- Soft brush or old toothbrush: These are ideal for gently scrubbing the coils and fins without damaging them. Avoid using stiff brushes that could bend or break fragile components.
- Vacuum with hose attachment: A vacuum makes it easy to suck up loose dirt, dust, and debris that collects on the coils, filters, and other components of your air conditioner.
- Mild soap and water or coil cleaner: Use gentle cleaning agents to avoid damaging the parts. Specialized coil cleaners are available, but a bit of dish soap and warm water works too.
- Compressed air (optional): Canned air or a small air compressor can help blast out dust from tight spaces where brushes and vacuums can't easily reach.
Safety tip: Make sure your RV is unplugged or the breaker for the AC is turned off before you begin.
RV AIR CONDITIONER CLEANING
Step-by-Step: Cleaning the Inside Unit (Evaporator)
This is the part inside your RV, typically in the ceiling. It pulls warm air from your RV and cools it down.
- Remove the AC cover: Use your screwdriver to take off the inside shroud or vent cover. This will expose the filter and the evaporator coils for easier access and cleaning.
- Clean or replace the air filter: Many RVs have reusable filters. Wash them with warm, soapy water, then rinse and let them dry completely before reinstalling. If it’s damaged, just replace it.
- Brush and vacuum the coils: Carefully use your brush to loosen dirt and dust from the coils. Vacuum the loosened debris gently to avoid damaging any delicate parts or electrical wiring.
- Wipe down the area: Use a soft cloth dampened with mild soap and water to clean the inside surfaces, including fan blades, vents, and the shroud. Let everything dry before reassembly.
Doing this alone can make a noticeable difference in airflow and cooling.

RV AIR CONDITIONER CLEANING
Step-by-Step: Cleaning the Outside Unit (Condenser)
Time to climb up on the roof! (Be safe up there.)
- Remove the shroud: Unscrew and carefully lift off the plastic cover protecting the AC unit. Set the screws aside somewhere safe so you don’t lose them.
- Blow out debris: Use a vacuum or compressed air to remove leaves, insects, dust, and other particles. These can block airflow and cause your system to work harder than it needs to.
- Brush the fins gently: The fins on the condenser are fragile and bend easily. Use a soft-bristled brush to carefully clean them and avoid damaging their shape, which can affect airflow.
- Check for damage: While you're up there, take a minute to inspect the unit for rust, cracks, loose wires, or any other signs of wear that might indicate a need for repair.
- Reinstall the shroud: Once everything is clean and fully dry, carefully place the cover back over the unit and screw it into place securely so it stays put during travel.
RV AIR CONDITIONER CLEANING
Pro Tips to Keep Your RV AC in Top Shape
Want to make this job easier next time or avoid problems altogether? Here are some easy tips:
- Install an air filter upgrade: Some aftermarket filters offer better filtration, helping to trap smaller particles like pollen and dust, which means a cleaner AC and healthier air inside your RV.
- Use a rooftop AC cover when parked: When your RV is not in use, especially during off-season storage, a fitted cover protects the unit from leaves, dirt, UV rays, and nesting critters.
- Run the fan mode occasionally: Switching to fan mode helps dry out moisture inside the unit. This is a simple way to prevent mold and mildew buildup that can lead to musty smells.
- Check your seals and insulation: Poor seals around windows or doors cause your AC to work harder. Ensuring tight insulation helps maintain cool temperatures without overworking your system.

RV AIR CONDITIONER CLEANING
When to Call in a Pro
You don’t have to do it all yourself. If you notice any of these signs, it might be time to call a technician:
- The AC is making loud or strange noises: Unusual sounds like grinding, buzzing, or rattling can be signs of mechanical issues, loose parts, or motor problems that require professional attention.
- You're seeing ice buildup on the unit: Ice on the coils could mean airflow issues, a refrigerant leak, or other technical malfunctions that go beyond what a standard cleaning can fix.
- There’s a burning smell or electrical issues: A burning odor can signal overheating, faulty wiring, or electrical problems. It’s best to shut off the system and have it inspected by a qualified technician.
- Cooling performance doesn't improve after cleaning: If your AC still isn’t working well even after a thorough clean, it may need more in-depth servicing, like a refrigerant recharge or component replacement.
Sometimes a deep chemical cleaning or refrigerant recharge is needed - and those are best left to the pros.
RV AIR CONDITIONER CLEANING
Don’t Forget: Clean AC, Happy Camper
Imagine this: You're parked at your favorite campsite, the sun's beating down, and inside your RV, it feels like an oasis. That only happens if your AC is in top shape. Cleaning it is a small job that delivers big results.
So put it on your maintenance calendar. Make it part of your trip prep. And trust me, future you (and everyone riding with you) will thank you.

RV AIR CONDITIONER CLEANING
Ready to Tackle It? Here's Your To-Do List:
- Turn off the power: Shut off the power supply to your RV’s air conditioner. This is the most important safety step before doing any cleaning or disassembly work.
- Remove and clean the interior cover and filters: Open the inside unit, take out the filters, and clean them with mild soap and warm water. Rinse well and let them dry completely before reinstalling.
- Clean the evaporator coils and internal components: Gently brush and vacuum the evaporator coils, fan blades, and other interior parts to remove built-up dust, pet hair, and dirt.
- Climb onto the RV roof carefully: Use a sturdy ladder and make sure your footing is secure. Never climb on the roof in wet or windy conditions.
- Remove the AC shroud and inspect the condenser: Take off the outer cover, vacuum out any debris, and visually inspect the components for rust, corrosion, or insect nests.
- Clean the condenser coils and straighten fins: Brush dirt off the coils with a soft brush. If the fins are bent, use a fin comb or similar tool to carefully straighten them.
- Reassemble everything and restore power: Put the covers back on securely, tighten all screws, and turn the power back on to test your newly cleaned system.
RV AIR CONDITIONER CLEANING
Got Questions? Let’s Talk!
Cleaning your RV air conditioner might raise more questions the first time you do it. Don’t sweat it (pun intended). Got a tricky issue or a tip to share? Drop a comment or send a message—I’d love to help.
And if this guide for cleaning your RV air conditioner helped you, share it with a fellow RVer! They’ll owe you one next time the AC kicks in on a 95° day.
Happy camping, and stay cool out there!
TOP of RV Air Conditioner Cleaning Guide
BACK to Overview of HVAC Maintenance
HOME to RVExpeditioners.com Main Page