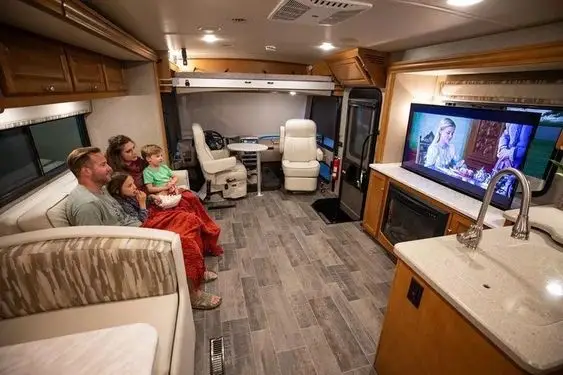
Mounting a TV in an RV can be a great way to maximize your entertainment options while on the road. Here's a general guide on how to do it:
Step 1: Choose a Mounting Location
Choosing the right location to mount your TV in an RV is important for a comfortable and enjoyable viewing experience. Here are some factors to consider when selecting a mounting location:
- Size and weight of the TV: Make sure the location you choose can support the weight of the TV and is large enough to accommodate the TV's size. RV walls are generally thinner than the walls in a typical home, so you'll want to choose a location that can safely support the weight of the TV and mount.
- Viewing angle: Consider the viewing angle from the location you choose. You'll want to choose a location that provides a comfortable viewing angle for everyone who will be watching. Mounting the TV too high or too low can cause neck strain or other discomfort.
- Power and cable connections: Make sure the location you choose has access to power and cable connections. You'll need to plug in the TV and connect it to your RV's entertainment system, so make sure the location you choose has access to the necessary connections.
- Vibration and movement: Keep in mind that RVs can experience vibrations and movement while driving. Choose a location that is less likely to experience excessive movement or vibrations that could damage the TV or mount.
- Personal preferences: Ultimately, the best mounting location for your TV will depend on your personal preferences and the layout of your RV. You may prefer a location that is out of the way, or you may want the TV to be easily accessible from multiple areas of the RV.
By considering these factors, you can choose a mounting location for your TV that is safe, comfortable, and convenient for your needs.
Step 2 – Select a TV Mount
When selecting a TV mount for your RV, there are several factors to consider:
- TV size and weight: Make sure the TV mount you choose is compatible with the size and weight of your TV. Most mounts will have weight and size limits listed in their product description, so make sure to check these specifications before making your purchase.
- Mounting location: Consider the location where you want to mount the TV and choose a mount that is suitable for that location. For example, if you want to mount the TV in a corner, you'll need a mount that allows for corner installation. If you want to mount the TV above eye level, you may want a mount that tilts down for better viewing angles.
- Mounting type: There are several types of mounts available, including fixed mounts, tilting mounts, full-motion mounts, and ceiling mounts. Fixed mounts are the simplest and most affordable option, while full-motion mounts offer the most flexibility. Ceiling mounts are a good option if you want to mount the TV in an overhead location.
- Material and durability: Consider the materials used in the mount's construction and ensure that it's durable enough to withstand the vibrations and movements of an RV. A mount made of high-quality materials, such as steel or aluminum, will be more durable and long-lasting.
- Brand and product reviews: Look for reputable brands and read product reviews to get an idea of the quality and reliability of the mount you're considering. Customer reviews can be a valuable resource for learning about other RVers' experiences with specific mounts.
By considering these factors, you can choose a TV mount that is compatible with your RV and TV, suitable for your mounting location, durable to withstand travel, and highly rated by other users.
Step 3 – Gathering the Required Tools
Mounting a TV in an RV will require a few basic tools. Here's a list of tools you may need:
- Drill: A power drill with a variety of drill bits is essential for creating holes in the RV's walls or other surfaces for the TV mount.
- Screwdriver: A screwdriver, either manual or powered, will be necessary for tightening screws and bolts on the TV mount.
- Level: A level will help ensure that the TV mount is installed evenly and straight.
- Stud finder: A stud finder is used to locate the wooden studs in the RV's walls to provide a sturdy mounting surface.
- Measuring tape: A measuring tape will be useful for measuring the placement of the TV mount and ensuring that it is level.
- Pencil or marker: A pencil or marker is needed to mark the spots where holes will be drilled and to mark the position of the TV mount.
- Safety gear: Safety gear such as safety goggles and gloves are important to protect your eyes and hands while drilling and working with the mount.
It's important to ensure that you have the right tools before starting the TV mounting process. By having these basic tools on hand, you can safely and effectively mount your TV in your RV.

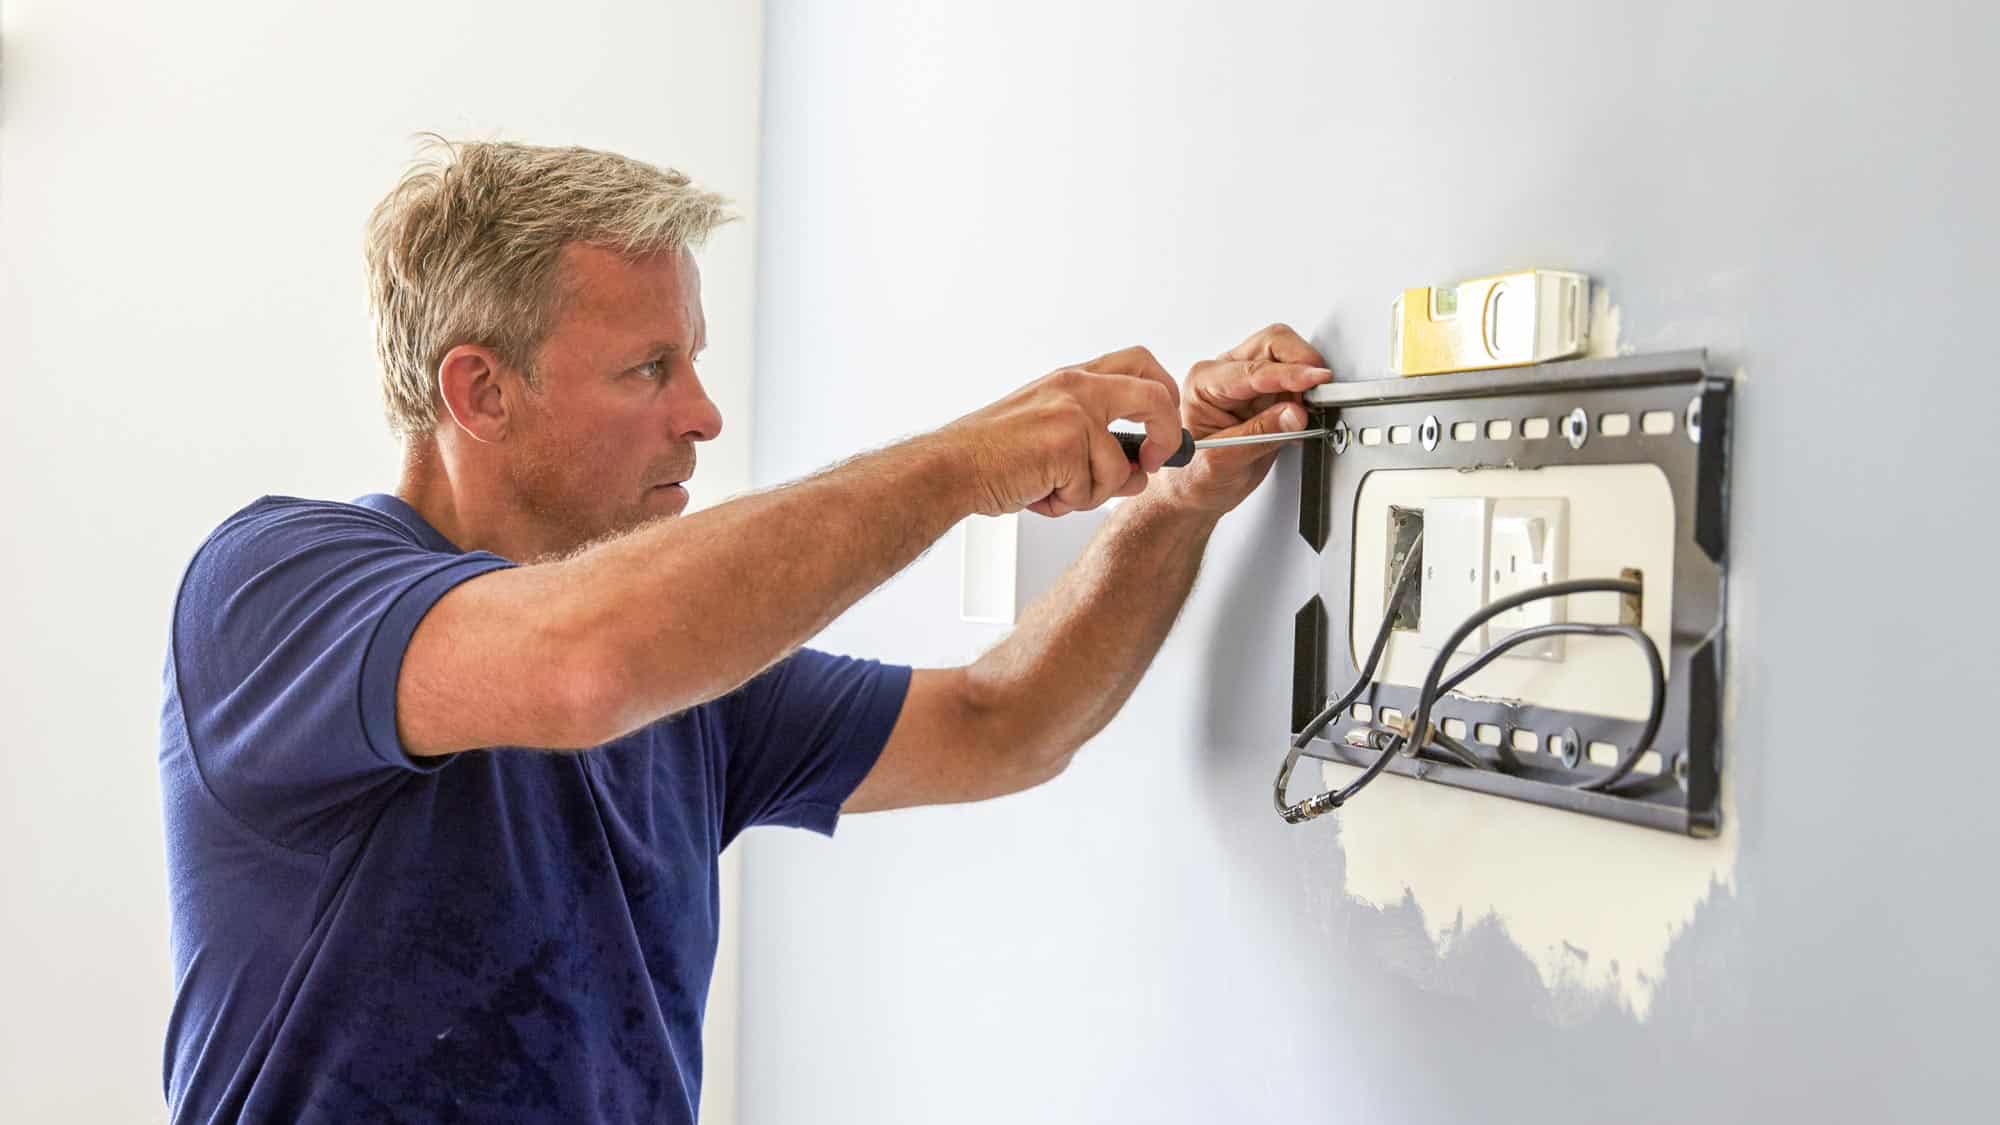
Step 4 – Install the TV Mount
Now that you have figure out which TV is best for your RV, determined the best location to mount your TV, have decided on a TV mount, and have gathered the tools you need, install the TV mount according to the manufacturer’s instructions.
Make sure to use the appropriate screws and hardware for your RV’s walls!
Step 5 – Attach the TV
Attaching the TV to the TV mount in an RV can vary depending on the specific TV mount you're using, but here are some general steps to follow:
- First, make sure the TV mount is properly attached to the RV wall or other surface. Follow the manufacturer's instructions to install the mount securely and safely.
- Locate the TV mounting holes on the back of your TV. These holes are typically located near the center of the back of the TV and may be covered by plastic caps.
- Using the appropriate screws and washers provided with the TV mount, attach the mounting bracket to the back of the TV. Make sure the screws are tightened securely, but be careful not to over-tighten them and damage the TV.
- Once the mounting bracket is securely attached to the TV, lift the TV and carefully place it onto the TV mount on the RV wall. Make sure the mounting bracket on the TV slides onto the mount securely.
- Depending on your TV mount, you may need to adjust the tilt or swivel of the TV to ensure a comfortable viewing angle. Follow the manufacturer's instructions for adjusting the mount, and test the TV from various viewing positions to ensure it is set up correctly.
- Finally, check that the TV is securely attached to the mount by giving it a gentle shake. If the TV wobbles or feels loose, double-check the mounting bracket and screws to ensure they are tightened properly.
Step 5 – Connect the Cables
Connecting cables to your TV in an RV can be a bit different from connecting cables in a traditional home due to the limited space and wiring options. Here are the general steps to connect cables to your TV in an RV:
- Locate the available cable connections on the back of your TV. Depending on your RV and TV, you may have options such as HDMI, coaxial, composite, or component cables.
- Connect your desired cables to the corresponding input/output ports on your TV. For example, if you're using an HDMI cable, plug one end of the cable into the HDMI port on the TV and the other end into the HDMI port on your satellite receiver or other device.
- For coaxial cables, screw one end of the cable into the “Cable In” port on your TV and the other end into the “Cable Out” port on your RV's signal amplifier or satellite receiver.
- For composite or component cables, plug the colored cables into the matching input/output ports on both the TV and the device you're connecting.
- If you're using a soundbar or home theater system, connect the audio cables from the device to the corresponding input/output ports on the TV or sound system.
- Once all cables are connected, power on your TV and other devices and use the TV remote to select the correct input source for your desired device.
- Test the connections by checking that your TV is displaying the correct content from your connected devices and that the sound is coming through your desired audio system.
By following these general steps and consulting your TV and device manuals for specific instructions, you can successfully connect your cables to your TV in your RV and enjoy your favorite shows and movies on the go.

It's important to note that the specific steps for mounting a TV in an RV may vary depending on your RV's make and model, as well as the type of TV mount you choose. Always refer to the manufacturer's instructions and consult a professional if you're unsure about any step of the process.