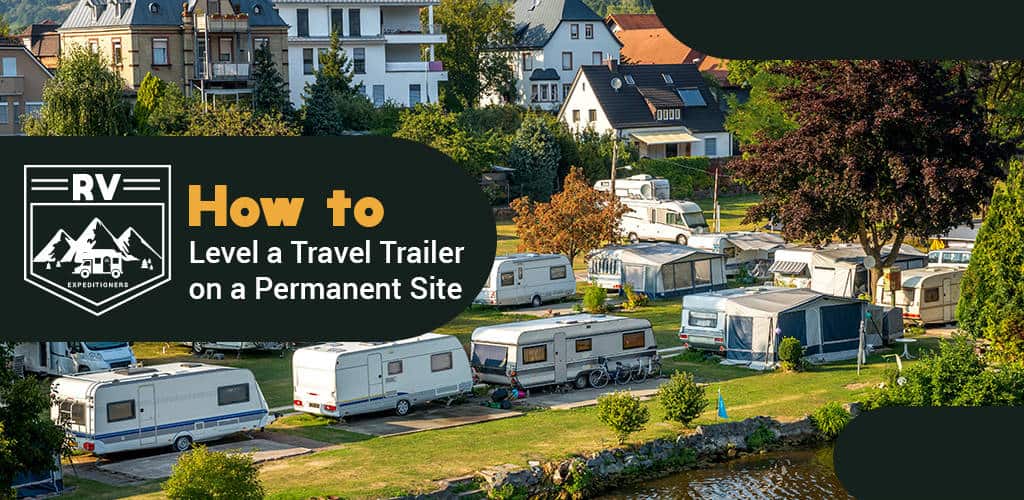
You’ve finally found the perfect spot to turn into a permanent site for your trailer. Now it’s time to start thinking about making sure your trailer is going to be level.
Leveling your trailer is probably the most important thing you can do when installing it on a permanent site. Everything from your bedroom to your appliances function more properly when the trailer is level.
Whether staying at an RV park or heading into an entirely off grid location, keeping your travel trailer level as possible will make sure you don’t run into major problems. A level trailer eliminates problems such as improper water tank distribution and appliance issues like refrigerators cooling on only one side.
Read on to find out how to level a trailer on a permanent site.
Step by Step Guide to Leveling Your Trailer
The steps below are designed to help you get your trailer level and stabilized. First we’ll talk about what those steps are and what tools are needed for each task.
Please note that if your trailer comes with an automatic leveling system that you should definitely use it. It will definitely save you time and effort. Be sure to consult your owners manual.
Follow These Steps for Leveling Your Trailer Perfectly
- Choose and prepare your site
- Place leveling blocks near your travel trailer’s wheels
- Carefully drive to travel trailer onto the leveling blocks
- Firmly place the wheel chocks around the tires to keep the travel trailer in place
- Slowly start lowering the tongue jack
- Install any stabilizing jacks
What Methods Are Used To Level a Trailer?
There are two main methods for leveling the trailer. The first is the Side to Side leveling and the second is the Front to Back leveling. The standard rule is to remember that you will always start leveling using the side to side method. It’s the safest way to get your trailer stable.
Choosing a proper site for your trailer is the most important step for leveling. Most RV parks are well maintained, but you should always inspect the site first. Make sure the ground or concrete slab is free from large, loose cracks and potholes. This is very true should you prefer to skip a campground and go further off the grid.
Also check the areas of the permanent site for things such as sturdy points where you plan on using leveling blocks. Be wary of slopes, as they can be difficult areas for proper leveling.
The Side to Side Trailer Leveling System
Tools Needed:
- Leveling Blocks
- Bubble Level Tools
- Wheel Chocks
NOTE: You do NOT have to unhook your trailer just yet, because you might have to move it to get your wheels on top of the leveling blocks.
Getting your trailer level using the side to side method will be the very first step you use when getting ready to level your trailer. It would be best to use leveling blocks to accomplish this. Your trailer’s side axles and wheels are what we will be focusing on to do the side to side leveling.
Leveling blocks are great tools because they can be taken out or added from underneath the trailer wheels. To begin, you’ll carefully move your trailer back and forth on your permanent site. adding the leveling blocks as needed.
Use your bubble level on the sides of the trailer to make sure you get the trailer as level as possible. Once the bubbles are centered, your side to side leveling is complete.
Bubble levels are the universal standard for leveling. You can even permanently attach them to the outside of your trailer as they are quite tough and durable.
The Front to Back Leveling System
Tools Needed:
- Bubble Level Tools
- Your trailers automatic leveling system (If Installed) OR
- Wheel Chocks
- Wooden or metal planks
- Stabilizing jacks
When leveling your trailer front to back, you’ll be using the front tongue jack to get your trailer level from front to back along with the rear axles if needed. It’s advised to have a few planks ready to sit the tongue jack on when lowered. You can also use durable metal slabs if you want, which lasts longer than wood.
Slowly bring the tongue jack down until it reaches the planks or resting platform. Be sure you check your bubble lever tool or measuring tool to make sure the trailer levels out to where you need it to be.
Add or remove leveling planks to position the trailer. Once everything seems good, check the side to side level one more time and you should be good to go. You may also use stabilizing jacks if needed. These types of jacks are very tough and can hold plenty of weight without harm.
NOTE: If your trailer has an automatic leveling system, please use it. It will be the easiest and fastest way to get your trailer level. Just use the supplied display to get your trailer in the perfect level position.
Be sure to chock your trailer wheels in place once the trailer is level. Your trailer won’t be going anywhere with chocks in place and adds needed security.
Why Would You Need To Level Your Trailer on a Permanent Site?
Please remember that your trailer is meant to be used in a level position. Think about this: would you prefer the floor level in your home to be even or at a noticeable slant? The answer should be a level floor.
When you level out your trailer, you don’t have to concern yourself with things like walking at an angle just to get around. Components such as refrigerators and combo washer/dryer units need to be level to work properly.
If your water tanks are sitting at some weird angle they won't be able to do a good job of supplying water to your systems efficiently.
There are even some health reasons involved with a level trailer. We know we wouldn’t want to sleep in an unlevel bed and we don’t believe you would either. Sleeping at an unfamiliar position causes stress and soreness. No one needs to wake up to that feeling.
Walking at stranger than normal angles can even cause dizziness at times or possibly even vertigo. Trust us, you do NOT want that to happen.
Do’s and Don’ts of Travel Trailer Leveling
Just like any other task, there are rules that need to be followed to ensure you will have no problems when trying to level your trailer.
Do’s:
- Try to find a flat, solid and stable permanent place to level your trailer.
- Always use leveling blocks or wedges when attempting to level your trailer. Leveling blocks are designed to take the weight distribution of even the heaviest of trailers.
- Always remember that you and your family’s safety comes first before anything else.
- Remember that you do not have to unhitch your trailer until it’s level and stabilized. Always err on the side of safety. Most travel trailers are quite heavy, so please let your towing vehicle handle the heavy lifting instead of your back.
- When performing the side to side leveling, always go for the side that needs the most leveling first. This will reduce any stress on the trailer. Have your blocks, chocks and anything else you need ready to go on that side.
- Shop for good quality leveling tools when purchasing blocks, chocks and bubble levels. This is especially true for very heavy trailers. Purchase a few spare tools just in case.
- Remember to always do the side to side leveling first, then use the front to back leveling method.
Don’ts:
- Don’t just find a nice spot for your trailer and then immediately unhook it. You’ll need to make sure it’s level first. The safest way to do that is by keeping your trailer hitched so that you can easily move it if you need to.
- Don’t attempt to substitute your scissor jacks for stabilizer jacks, as they are not designed for leveling purposes. Scissor jacks are not safe enough for that.
- Stabilizer jacks are normally equipped underneath your trailer. They are designed to extend from the bottom of your trailer to help with weight distribution. Plus they are super strong.
- Never, ever use rocks of any size for leveling on a slope. Likewise, stay away from using boards on any slope. That method is not considered safe as they could slip and crack at any time on uneven terrain.
Conclusion
When it comes to having a great time while traveling with your RV trailer, please remember that leveling is a very important thing. It ensures that things like your appliances run smoothly as well as prevent any instability problems.
It doesn’t matter what size your trailer is, finding a proper permanent site to level your trailer on is key to making sure your trailer is stable during your stay. By using our step by step method you should have no problem getting your travel trailer safe and level. Be safe, be level and have a wonderful time with your travel trailer.