Learning how to level a camper is important if you're looking for a comfortable and functional camping experience.
If you end up with an uneven camper, appliances might malfunction, water could pool in unexpected areas, and you might even feel off-balance while you move around in your RV.
Proper leveling of your RV trailer will prevent all these issues, and sets the stage for you enjoy your trip.
The process of leveling may seem challenging at first, but with practice - and a good guide - it becomes easier and easier.
Once you’ve learned how to level your camper trailer, you can focus on relaxing and enjoying your surroundings - knowing that your camper is stable and everything is working as it should.
Whether you’re at a campground or boondocking, our step-by-step guide will show you how to level your camper trailer.
HOW TO LEVEL A CAMPER TRAILER
1. Why Leveling Your Camper is Important
Key Reasons to Level Your Camper:
- Appliance Efficiency: Many RV refrigerators operate best when level, particularly absorption models that rely on gravity for cooling.
- Plumbing Functionality: Proper leveling ensures that sinks, showers, and tanks drain correctly.
- Interior Comfort: A level camper prevents you from feeling off-balance or dealing with sliding doors and cabinets.
- Structural Stability: Keeps weight evenly distributed, reducing stress on the RV frame and suspension.
HOW TO LEVEL A CAMPER TRAILER
2. Tools You’ll Need for Leveling a Camper
Before starting, gather the necessary tools to make the process smoother.
Essential Tools:
- Bubble Level or Smartphone App: Use a standard bubble level or download a leveling app for your phone to check the camper’s tilt.
- Leveling Blocks: Durable plastic or wooden blocks to raise the low side of your camper.
- Wheel Chocks: These chocks will prevent your camper from moving during the leveling process.
- Tongue Jack or Stabilizer Jacks: Use stabilizer jacks to fine-tune the leveling.
Tip: Invest in an automatic leveling system if you want to simplify the process.
HOW TO LEVEL A CAMPER TRAILER
3. How to Level Your Camper Side-to-Side
Leveling side-to-side should always be your first step. This adjustment ensures the camper is stable before addressing front-to-back leveling.
Step-by-Step Process:
- Choose a Level Spot: Park your camper in the most level area available. Use your bubble level to check the side-to-side tilt.
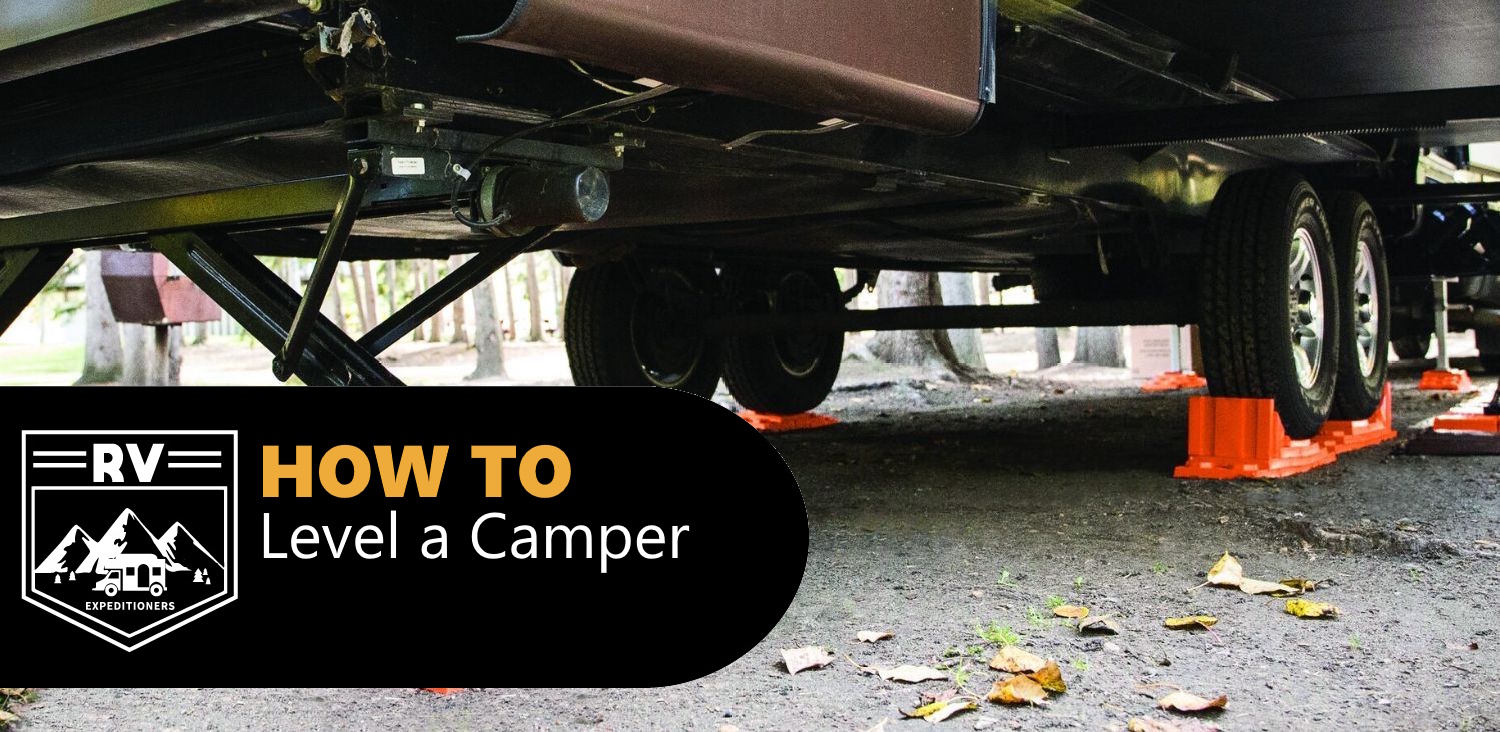
- Place Leveling Blocks: Stack leveling blocks under the low-side wheels. Add blocks gradually to avoid making the camper uneven in the opposite direction.
- Drive Onto the Blocks: Slowly drive the camper forward or backward onto the blocks. Make sure you have a spotter guide you for precision - and for safety!
- Recheck the Level: Use your bubble level to confirm that the camper is now level from side to side. Adjust the blocks if necessary.
- Set Wheel Chocks: Once level, place the wheel chocks on both sides of the tires to secure the camper.
Tip: Keep extra leveling blocks on hand for when you are dealing with uneven or sloped terrains.
HOW TO LEVEL A CAMPER TRAILER
4. How to Level Your Camper Front-to-Back
After leveling side-to-side, adjust the front-to-back tilt using the tongue jack.
Step-by-Step Process:
- Check the Tilt: Place the bubble level on a flat surface inside the camper to check the front-to-back tilt.
- Adjust the Tongue Jack: If the front is too high, lower the tongue jack. If it’s too low, raise it up further until the bubble shows the camper is level.
- Recheck the Level: Move the level to multiple spots inside the camper to confirm that the entire RV is balanced.
Tip: For motorized RVs, use hydraulic or electric leveling jacks to adjust the front-to-back balance.
HOW TO LEVEL A CAMPER TRAILER
5. Stabilize the Camper
Once the camper is level, stabilize it to prevent rocking or shifting while parked.
Stabilizing Steps:
- Lower Stabilizer Jacks: Extend the stabilizer jacks on all four corners of the camper. These jacks provide stability but should NOT be used to lift the camper.
- Secure the Jacks: Ensure they are snug against the ground or a solid surface.
- Double-Check Stability: Walk inside the camper to test for any movement. If it rocks, adjust the stabilizers.
Tip: Use stabilizer pads under the jacks if the ground is soft or uneven.
HOW TO LEVEL A CAMPER TRAILER
6. Common Mistakes to Avoid
Avoid these common errors to ensure safe and effective leveling.
Mistakes and Solutions:
- Using Stabilizer Jacks for Leveling: Stabilizer jacks are not designed to bear the weight of the camper. ALWAYS level with blocks or a tongue jack first.
- Overlooking Soft Ground: On soft surfaces, leveling blocks and stabilizers may sink. Use pads or wider blocks to distribute weight.
- Skipping Wheel Chocks: Always chock the wheels before and after leveling to prevent movement.
- Ignoring Weight Distribution: Uneven weight distribution inside the camper can affect leveling. Balance heavy items evenly.
HOW TO LEVEL A CAMPER TRAILER
7. Tips for Boondocking Leveling
When boondocking, you may encounter uneven or rugged terrain. Here’s how to adapt:
- Scout the Spot: Drive slowly and inspect the ground for the most level area before parking.
- Use Natural Features: Position the camper on natural inclines to minimize the need for leveling blocks.
- Carry Extra Blocks: Bring more leveling blocks for unexpected slopes or soft ground.
- Adjust the Load: Shift items inside the camper to help balance the weight if needed.
HOW TO LEVEL A CAMPER TRAILER
8. Maintenance Tips for Leveling Equipment
Keep your leveling tools in good shape to avoid issues during your trips.
- Clean Leveling Blocks: Wash off dirt and debris after use, especially if used on muddy ground.
- Inspect Jacks: Check for rust, wear, or damage on tongue and stabilizer jacks. Lubricate moving parts regularly to make sure they don't fail when you need them most!
- Store Properly: Keep tools like the bubble level and blocks in a designated storage area for easy access.
HOW TO LEVEL A CAMPER TRAILER
Key Takeaway: Level Your Camper Like a Pro
Leveling your camper is a critical step for a safe and enjoyable RV experience.
With the right tools, techniques, and a little practice, you can master the process and ensure your camper stays stable and comfortable wherever you park.
Are you ready to enjoy a perfectly leveled camper trailer? Then keep this guide handy. Whether you’re at a campground or boondocking, our step-by-step guide will show you how to level your camper trailer.
TOP of How to Level a Camper Trailer
BACK to Camping Setup Tips for RVers
HOME to RVExpeditioners.com