How do you paint RV exterior fiberglass? With a lot of preparation and hard work, that’s how. Whether you just bought a new one, planning to sell yours or just don’t like the color, a new paint job is necessary. Here’s what tools you’ll need and what steps you need to take to turn that “ol’ reliable” into a “new hotness”.Enter your text here...
Things That You Need:
Automotive sponge - a sponge that holds water and soap but repels dirt from sticking to its surface.
Soap - Any non-abrasive soap should work just fine.
A palm sander - You can use your hand but it’s so much easier with the tool.
Fine-grit sandpaper - The sandpaper is only to remove the thinnest top layer. This way the primer and paint have more texture to attach to.
Denatured alcohol - This assists in removing any leftover grease.
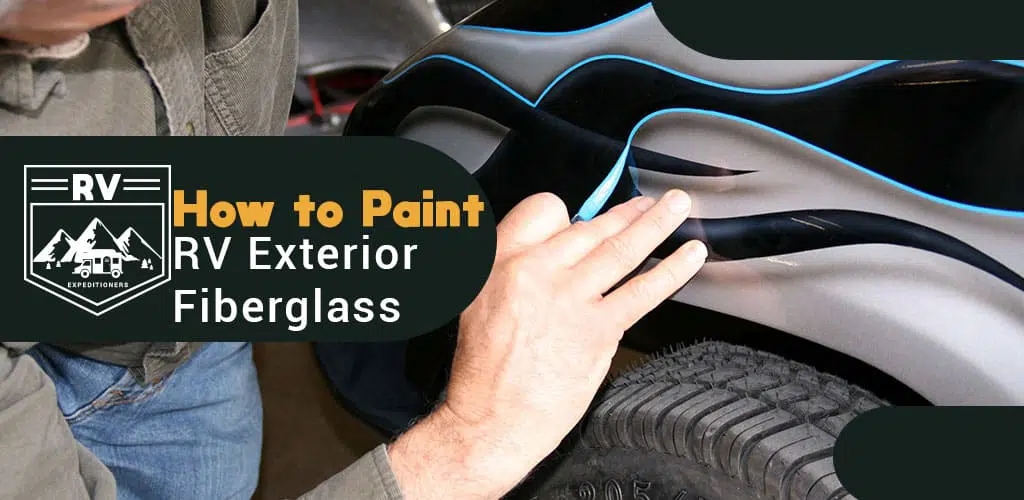
Painter’s tape - This is easy to remove tape to prevent areas you don’t want to be painted. The glass areas are obvious but also be wary of smaller details like door handles.
Latex-based primer (or similar) - Latex-based primers are water-based and more flexible. They are less susceptible to peeling and cracking.
Fiberglass paint - This is the whole reason we’re here.
A paintbrush or a paint gun - You have to get the paint on there somehow. A paint gun is your best option but those can be expensive. A paintbrush can work if you’re on a tight budget.
Acetone - Acetone can be used to clean paintbrushes
RV wax - A wax specifically for your RV use. The best option when repainting your camper.
A soft cloth/rag - Some companies create rags specifically for waxing but can be substituted with an old cotton t-shirt.
How To Paint Your RV Exterior Fiberglass?
It all starts with the preparation of your RV. First, you have to clean the exterior fiberglass surface. This includes getting off any oil, mud, dirt or any other substance that you do not want stuck underneath that layer of paint. Have your RV so squeaky clean that you contemplate if you need a new paint job. Next, you’re going to roughen up the surface with your wet fine-grit sandpaper. A quick once-over with the sandpaper will help your primer attach better. This will save you time and money getting an even spread from the primer. When done with the sanding, wipe off the surface to reveal a slightly not smooth exterior.
Now for the main event that we’ve all been waiting for. Once everything is prepped and ready to go, painting is one of the easiest parts of the process. You start with a thin layer of primer. Try your best to use long even strokes as far as you can. Focus on one area at a time so the RV dries evenly. After the primer has been applied, wait for the manufacturer’s recommended amount of time for drying. When the RV is completely dry, add your paint the same way that you applied the primer. Watch out for dripping as it can cause your finished project to look sloppy. Try not to apply too much in one area. Let your RV dry for at least 24 hours. If you are not happy with your results and believe you need another coat of paint, apply your second coat.
After you are happy with your paint job and you don’t plan on doing any more coats, do another check for how even the paint is. For any uneven spots, you can use that fine-grit sandpaper to do quick touch-ups to even it out. When you are finally happy with your paint job, you can focus on the step that makes your baby shine. The waxing. Before you start, be sure to read the instructions on your specific wax. Some wax products require a cure time. Put your RV wax on your rag and do circular motions to get an even coat all around. Like the paint, be sure to go in sections to make sure you have an even distribution of the wax. Finally, your RV is painted and ready to be enjoyed or sold.
Frequently Asked Questions:
What is the best polish for fiberglass RV?
Some use their RVs more than others. To find the best polish for you, check out these Top 5 products.
Do you need special paint for fiberglass?
Yes. Using all-purpose paint will not give you the proper finish that you desire and may cost you extra. For best results, look for polyester, polyurethane, acrylic or epoxy paints.
Can you use car wax on a fiberglass RV?
Yes. It’s best to use an RV wax because you may cause your paint job to be dull and chalky.
If you need any more information or helpful tips, be sure to visit our website.