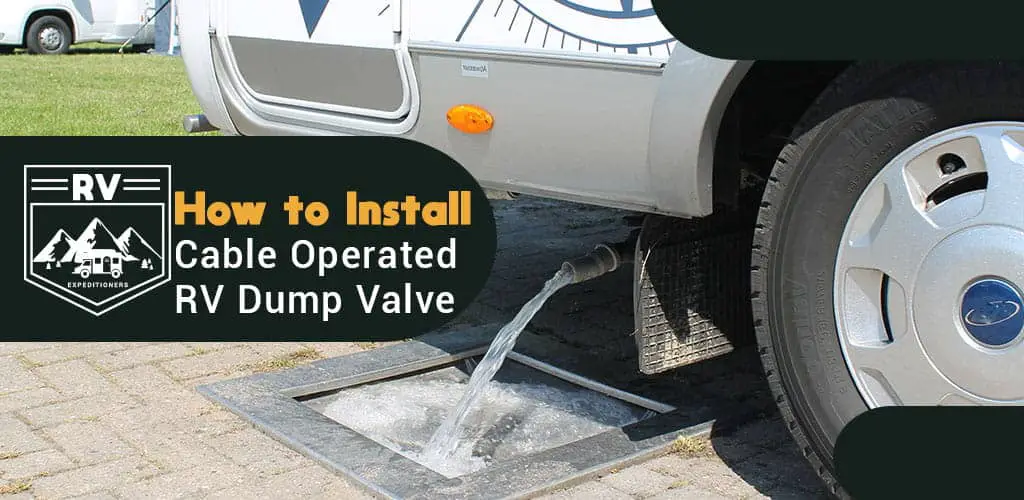
RV-veterans often prefer to install cable operated dump valves in their RV. To do that, let’s go over some steps to make the installation easy and fool-proof.
How do you install a cable operated RV dump valve? To install the valves, connect them to the flanges with proper lubrication of the valve blade. Then place a gasket around to prevent leaks. After that, be sure to attach the cables with the main power supply of the RV. You can also check the efficacy of the wiring and leakage by switching the power on and off.
This install helps give the passengers mess-free trips to enjoy without stress.
Tools Required
Here is what you will need in order to complete the installation:
- Flange seal or gasket
- Disc grinder
- Wastegate valve kit
- Bolts and screws
- Wrench
- Battery-powered drilling machine
- Screwdriver
- Lubricants
Be sure you have all of these tools before attempting the installation. It will make the process much simpler for you.
How to Reset the Service Trailer Brake
From here, let’s go over what needs to happen step-by-step. Follow each step for an easy valve installation.
1. Cleaning the tanks
This is a vital step in replacing the valve. It is also a great idea to clean the black tanks with a sewer flush.
The clean toilet water will then move through the black tank, giving it a more precise clean.
Be sure to also dump the gray tank as well. This water will most likely contain soap and other products, so it is much cleaner. However, it is important to dump it out to prevent it from spilling all over you.
You can also increase the height of the dumping pipes. This will prevent anything from getting on you.
2. Discard the underbelly wrapping
The underbelly wrapping provide insulation, preventing the sewage tanks from anti-freezing. However, be sure to remove the cover.
To do so, you need to loosen the bolts surrounding the cover. If the bolts appear rusted, be sure to replace them with new ones.
After removing the bolts, take out the valve as well. Then remove rubber gasket inside as well. They should be inside of the pipes.
Helpful Tip: Open the wastegate valve for 24 hours or more to allow for the inside area to dry completely.
3. Establishment of flanges
Be sure to clean the old flanges with water to rid of the possible debris.
Before installing the flanges and valves, look at the rubber gasket. Ensure the gasket is completely intact with no cracks. If there are cracks, that could cause a leaking issue. You can purchase a new one according to the proper dimensions if there are damages.
However, if there is nothing wrong with the rubber gasket, you can proceed.
Using the instructions on the valve kit, apply proper lubrication to either end of the valve, helping side the valve into place.
From there, place the gasket on the pipes of the valve and flanges. Make sure the cross member and the valve do not hit each other. That could cause unwanted damage.
Then you must connect the flanges with the new valve by placing the screws in their correct spots. Be sure not to tighten the screws too much. It could cause damage to the plastic valve.
Use the same methods to attach the valve to the gray tank.
4. Connecting the wiring of valves
Once the valves are successfully installed, it is time to connect the wiring to ensure it is working properly.
The valve wiring can be placed near the electrical outlet.
Use a power drill to create a hole in the floor of the RV. This will allow the wiring from the valve to have easy access through.
From there, connect the wiring with the switch panel. There are two data cables, be sure to attach both to the switch panel.
5. Checking the process of installation
Be sure to double check the components are working properly.
First, turn on the black tank switch to see if it is working. You can also take a look at the valve and flanges for any leaks.
Then turn on the gray tank to check for the same things.
If you notice any problems, remove the parts that are causing an issue, reinstalling them and checking the seals.
The benefits of cable operated RV dump valve
The benefits of the cable operated RV dump valve are far worth the time it takes installing it.
Increase the convenience
There is an increased convenience to using this dump valve.
With easy installation, they will provide passengers comfort and ease with a press of a button. It truly is as simple as that.
Indicators presence
It also helps prevent spillage from the tanks with the LED indicators, maximizing comfort for the passengers.
Installing a cable operated RV dump valve will be worthwhile. The valve will help increase convenience and comfortability for you and your passengers. These features will make life in your RV that much easier. Be sure to follow these steps to ensure an RV environment that is comfortable and fun for all.






0 Comments